A data model is an intermediary function that allows an app user to link the data source with the OREOPS application to input the data and render the required output to the end-user.
Create Model
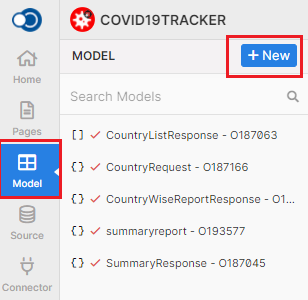
Create a new data model by navigating to the Model menu and clicking on the Add icon in the Object tab as highlighted below. You can also create a data model through the source. For further details check out Create Model.
Configuration
| Parameter | Description |
|---|---|
| Name | Unique name for the model |
| Description | Short description of the purpose of the model |
| Nature | Select the nature from LIST or OBJECT |
| Type | Select among the two types 1. Existing templates like Employee or User 2. Blank template to create a custom data model |

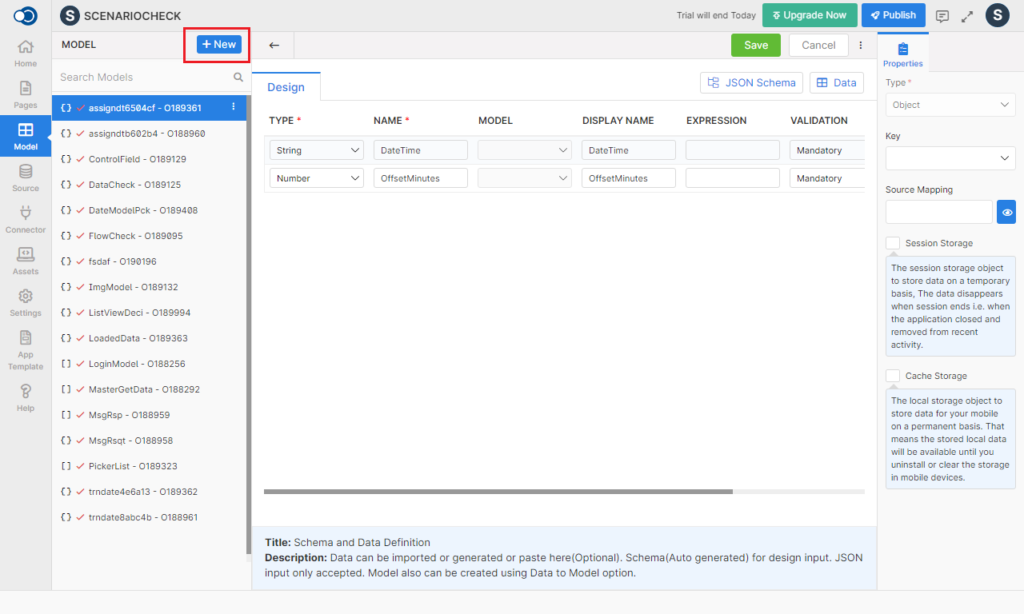
On providing the details, click Create to create the model and is displayed as shown below.
Design
You can create a structure for the JSON response by clicking on the Add icon on the design page.
Data
Data can be imported or generated or just pasted as local JSON. You can create a model using Data to Model option by navigating to the Data tab.
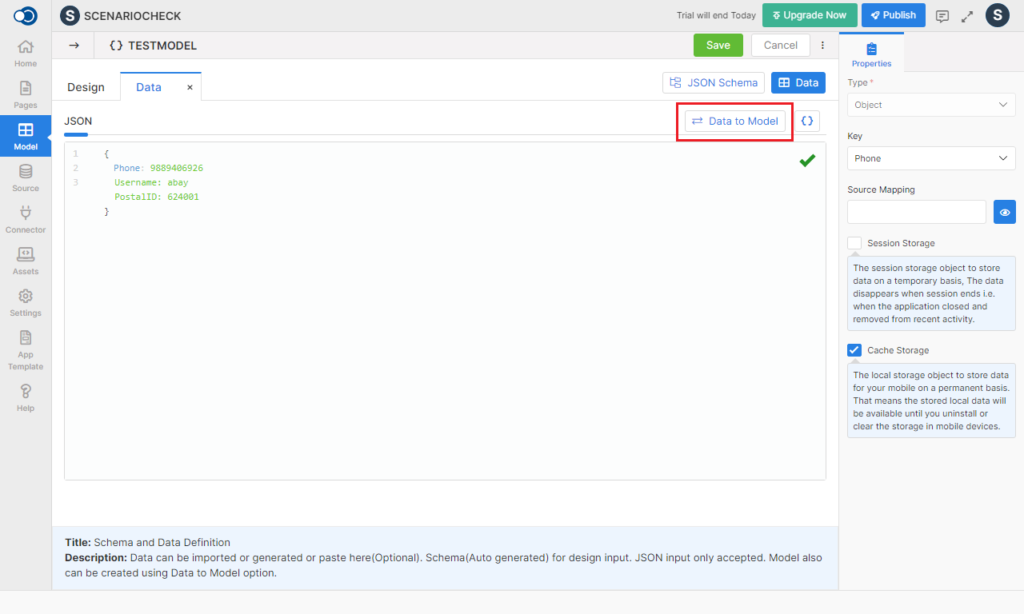
On clicking the Data to Model option, a confirmation message is displayed. Click OK to convert the data to model and navigate to the Design tab to view the changes as shown below:
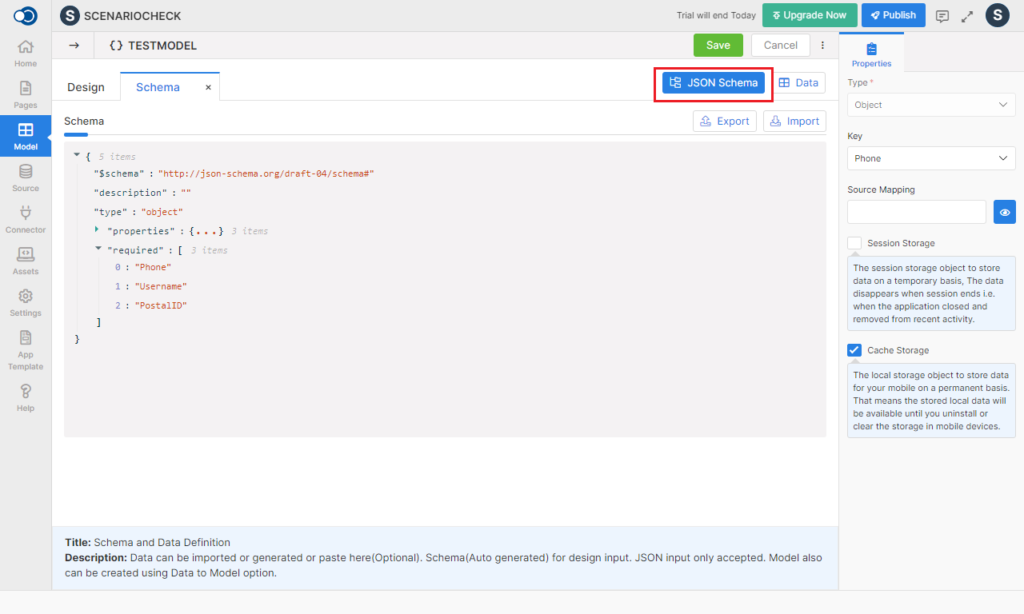
Schema
Schema allows you to import a data model or export the data model created in one OREOPS workspace to another.
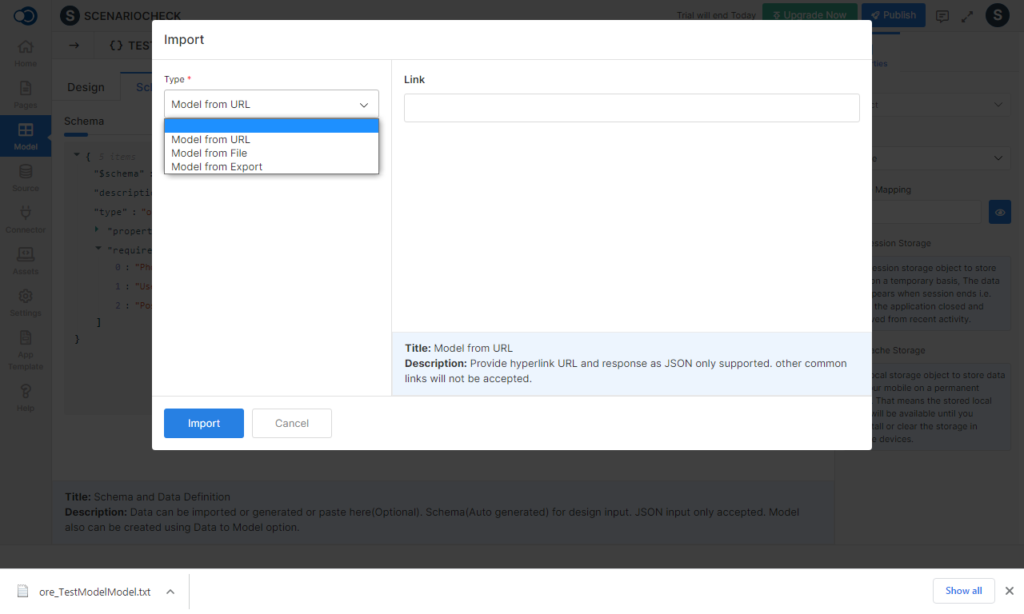
Import Model
Import the data model in any one of the below forms for future use
- Link – Provide hyperlink URL from which the JSON can be used
- File – Upload JSON files
- Model – Import model generated in OREOPS application
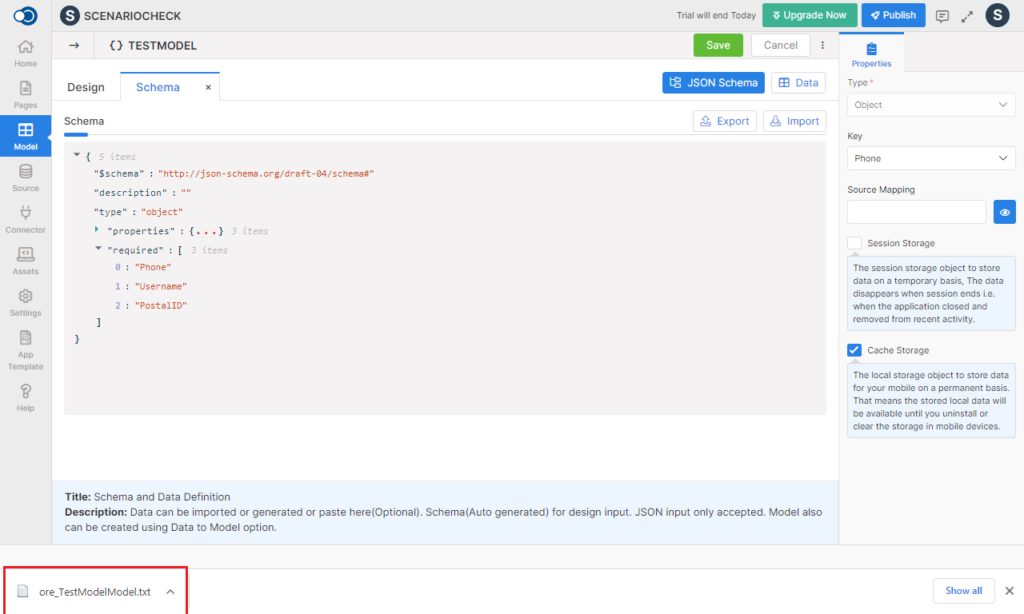
Export Model
Use the data model created in any one of the OREOPS applications by exporting the data model using Export Model. On clicking Export Model, a text file is opened in the name of the model file as shown below
Properties
| Parameter | Validation | Description |
|---|---|---|
| Type | Required | Displayed as Object or List based on user selection of JSON response |
| Key | Required | Select the name of the key to be displayed from the list of terms available |
| Source Binding | Optional | Whether the data binding has to be done by default |
| Auto Refresh | Optional | Choose the screen refresh interval at which the server will try to synchronize its records in seconds |
| Cache Storage | Optional | Checkbox which indicates that the temporary files are stored, if checked |
| Session Storage | Optional | Checkbox which indicates that the data is stored only for a session i.e. until the browser or tab is closed, if checked |
| Create Local JSON | Optional | Checkbox which indicates that a local copy of the JSON file is created from the data model, if checked |
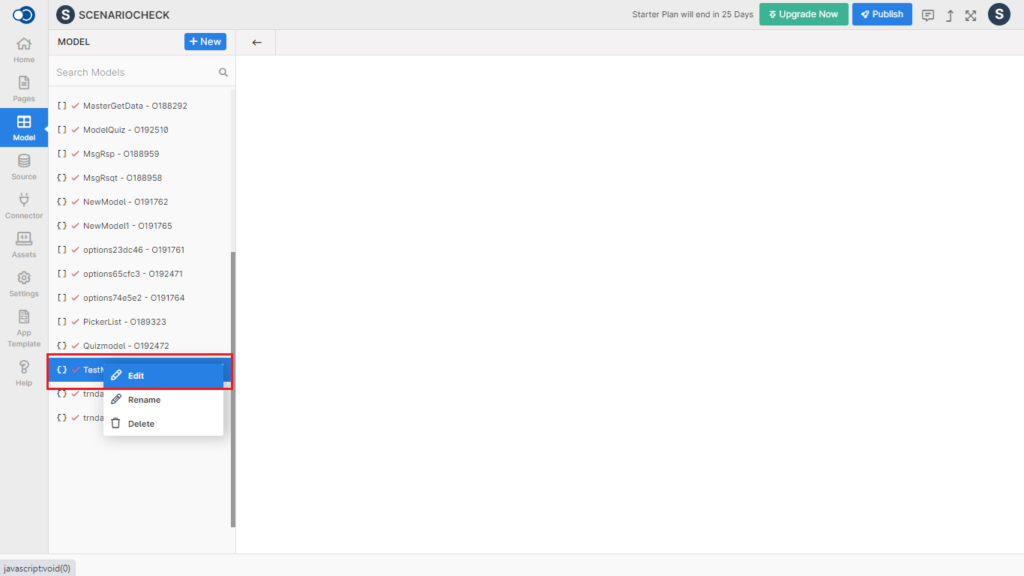
Edit Model
Once the model is created, you can edit the model by clicking on the Edit option and choosing the Data option to fill in the Response details.
You can add or remove the fields and click on the Save button to save the changes.
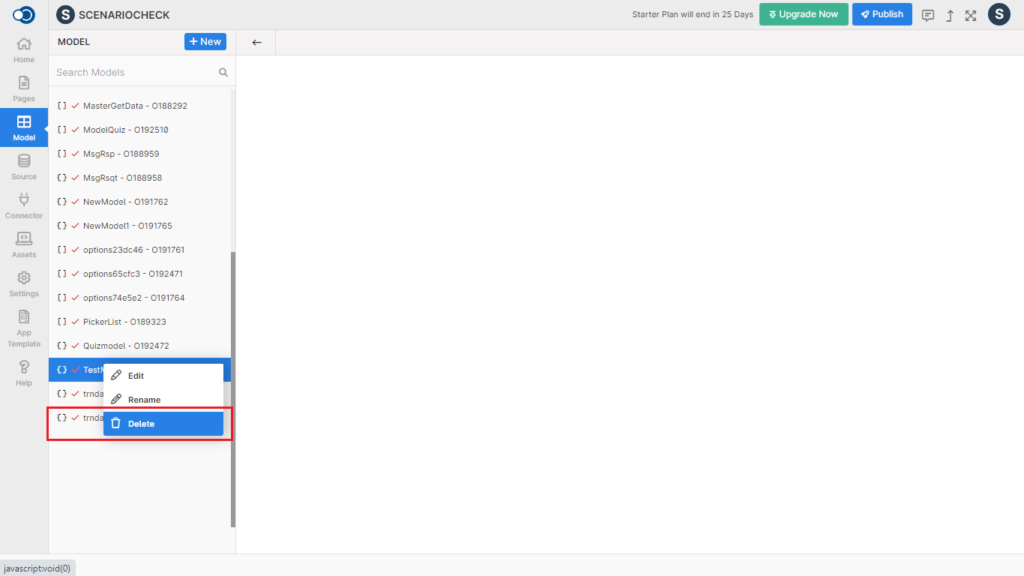
Delete Model
Remove the model if it is no longer used in the OREOPS application by choosing the model to be deleted and clicking on the Delete option.