Firebase – a cloud database from Google allows app users to store the data in a centralized location to be accessed globally through Firestore source.
Creating New Project in Firebase Console
To create a new project in Firebase console
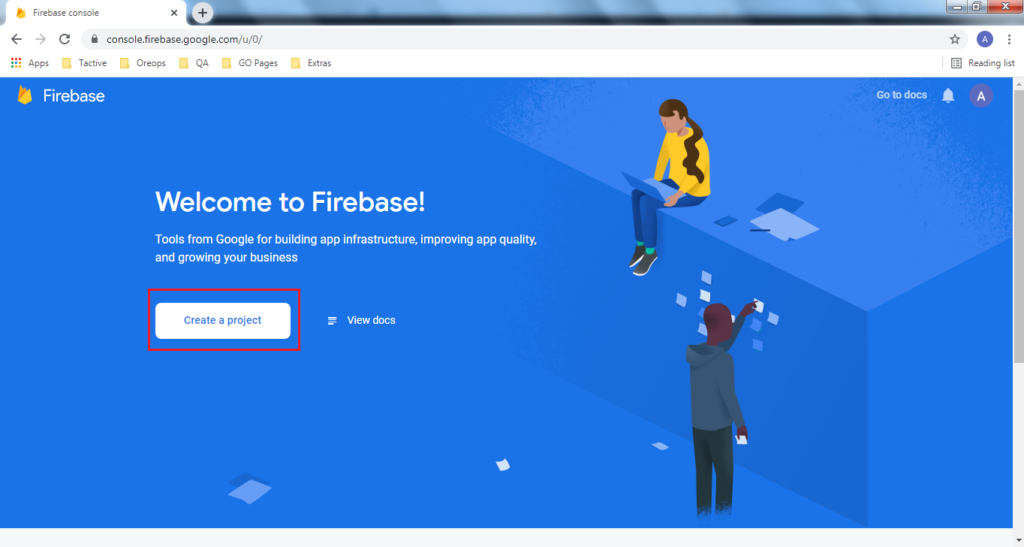
- Navigate to the Firebase console and click on Create a project as shown below
- Provide a name for the project and choose the Parent resource
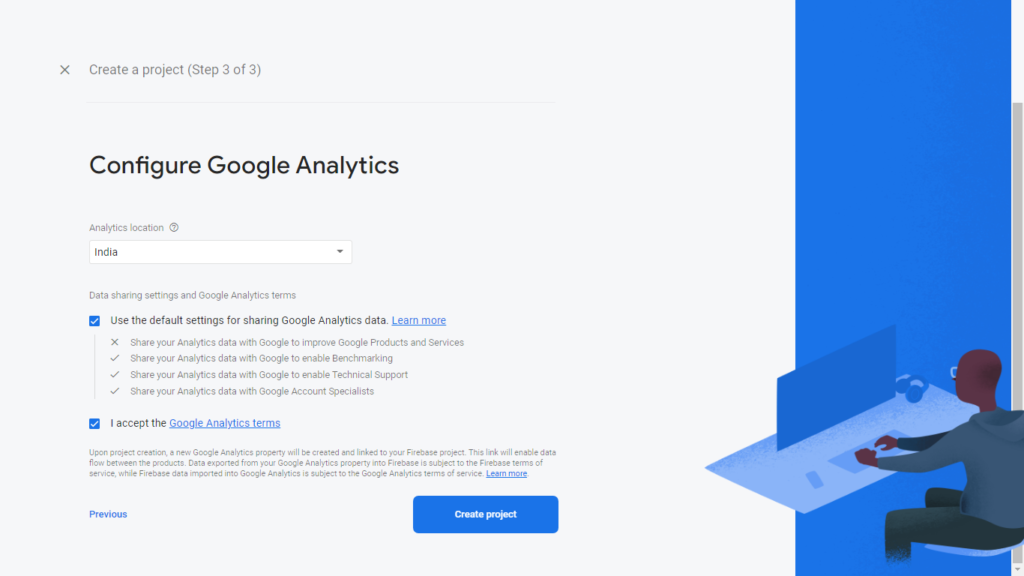
- Click on the checkbox against I accept the Firebase terms and click on Continue to create the project

- Choose the country based on your location and click on Continue to create the project
Register Web App
- Register the Firebase Web App by clicking on </> icon
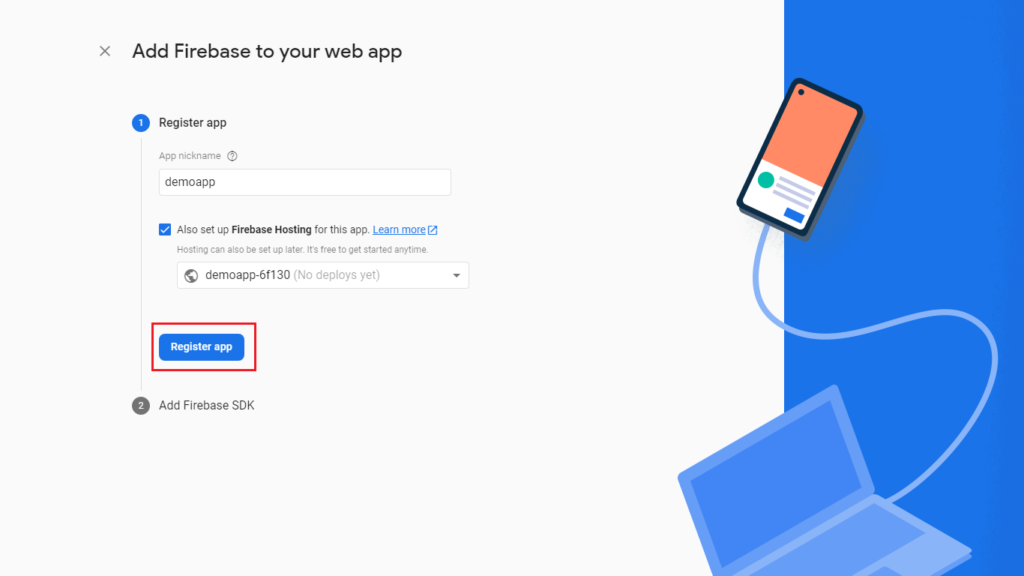
- Provide the app name and click on Register app
- Click on Next to continue the registration
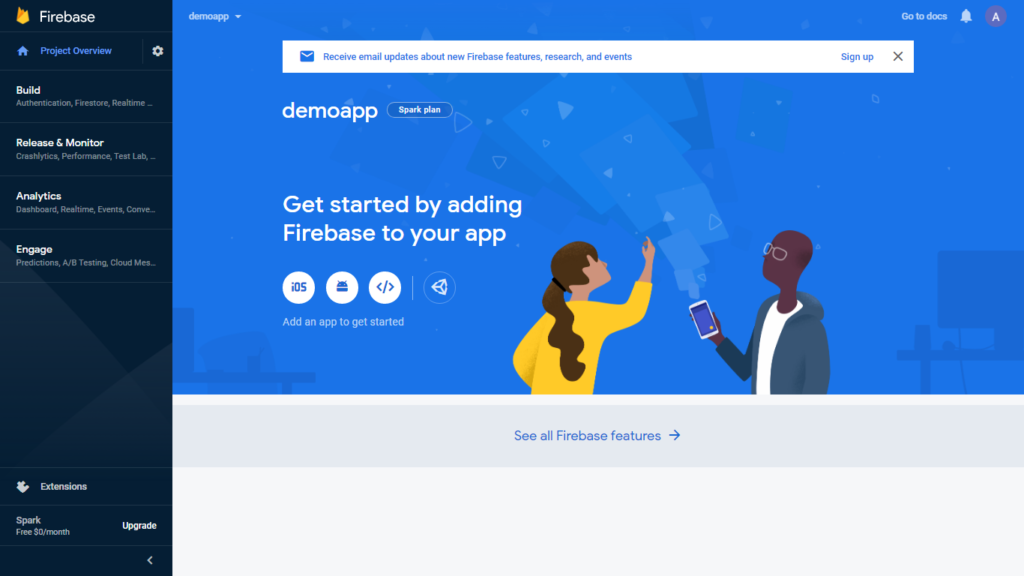
- The web app gets created and displayed on the dashboard
Register Android App
- Register the Firebase Android App by clicking on the corresponding icon
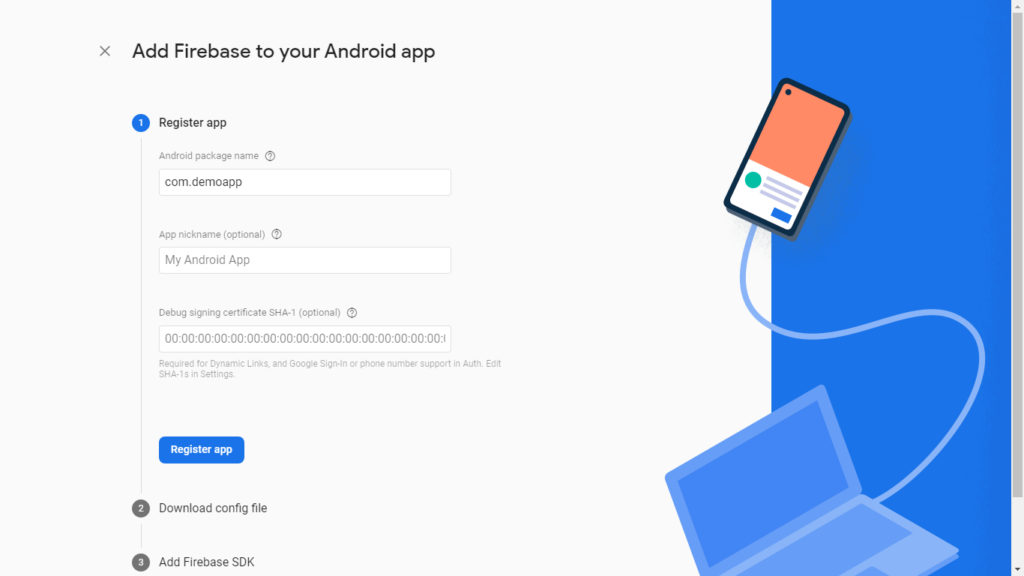
- Provide the app name and click on Register app
- Download config file and click on Next to continue the registration
- The Android app gets created and displayed on the dashboard
Register iOS App
- Register the Firebase iOS App by clicking on the corresponding icon
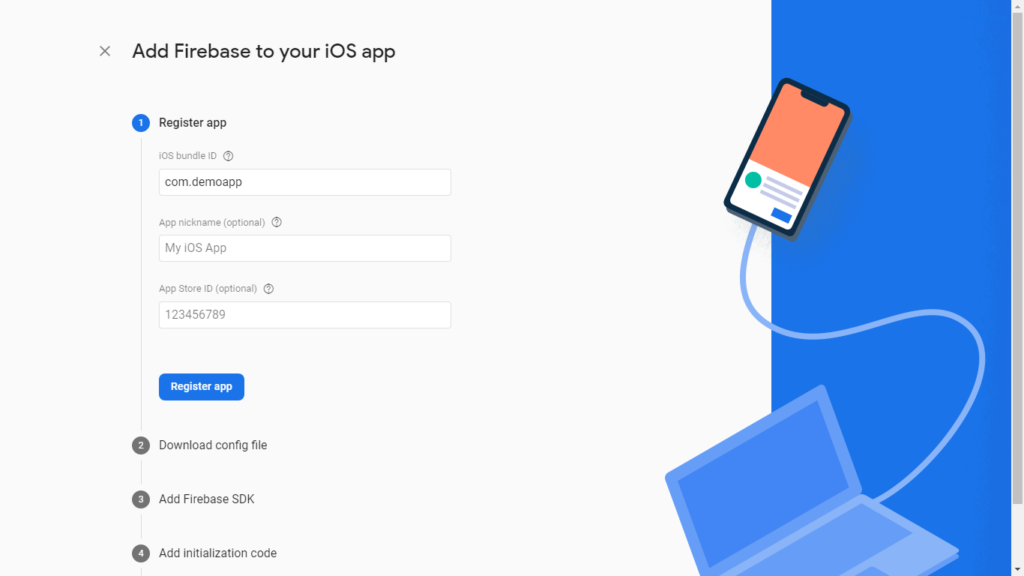
- Download config file and click on Next to continue the registration
- The iOS app gets created and displayed on the dashboard
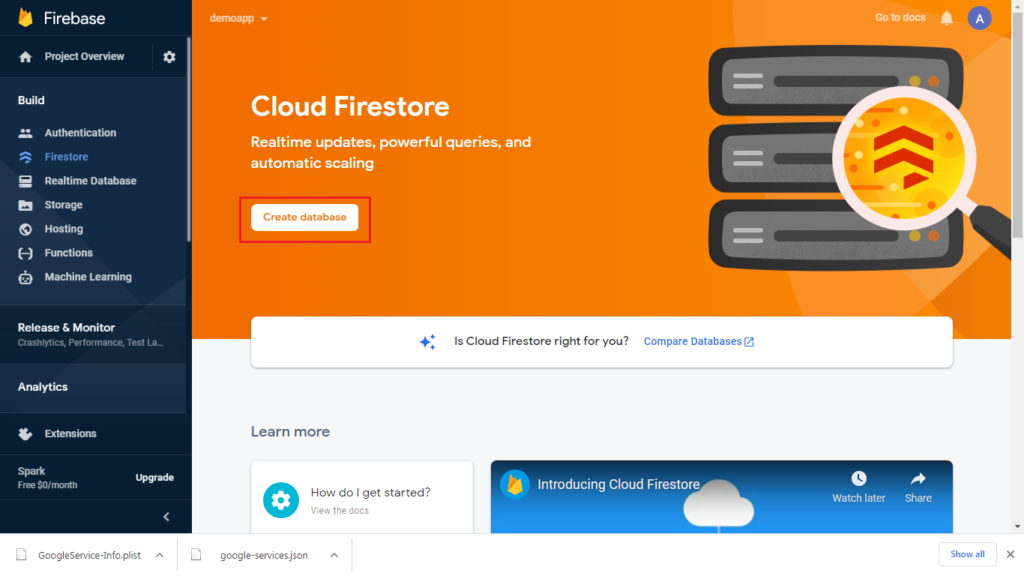
Create Database
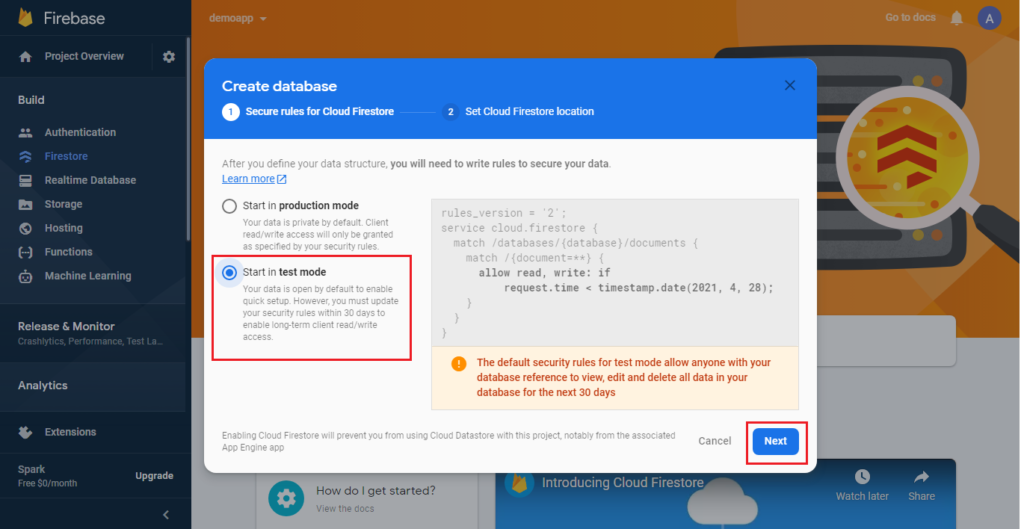
- To create a database navigate to Build –> Firestore and click on Create Database
- Choose the mode as Test mode and click on Next
- Choose the cloud Firestore Location based on your location or based on the location of the end-user and click on Enable
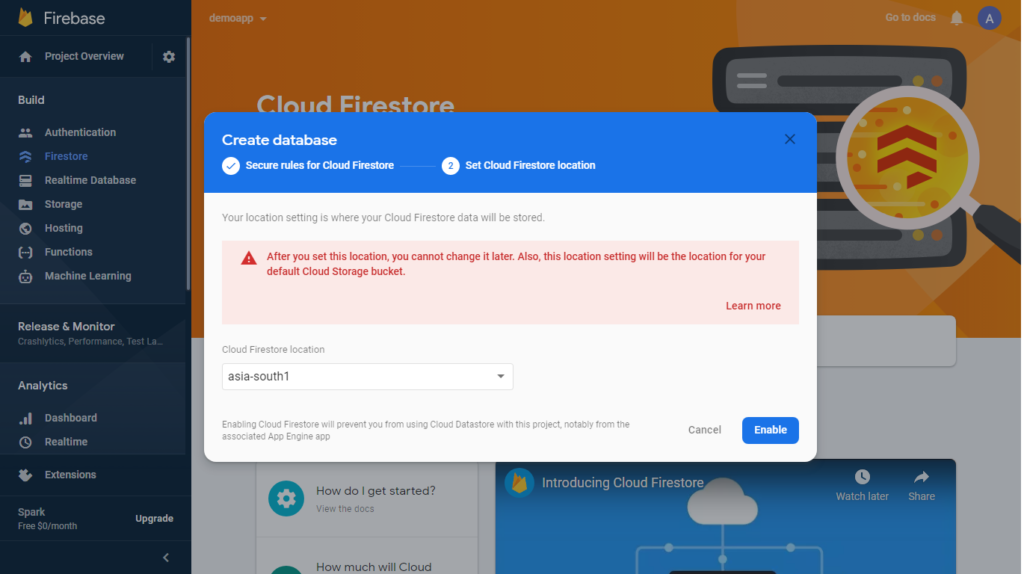
- Choose the cloud Firestore Location based on your location or based on the location of the end-user and click on Enable
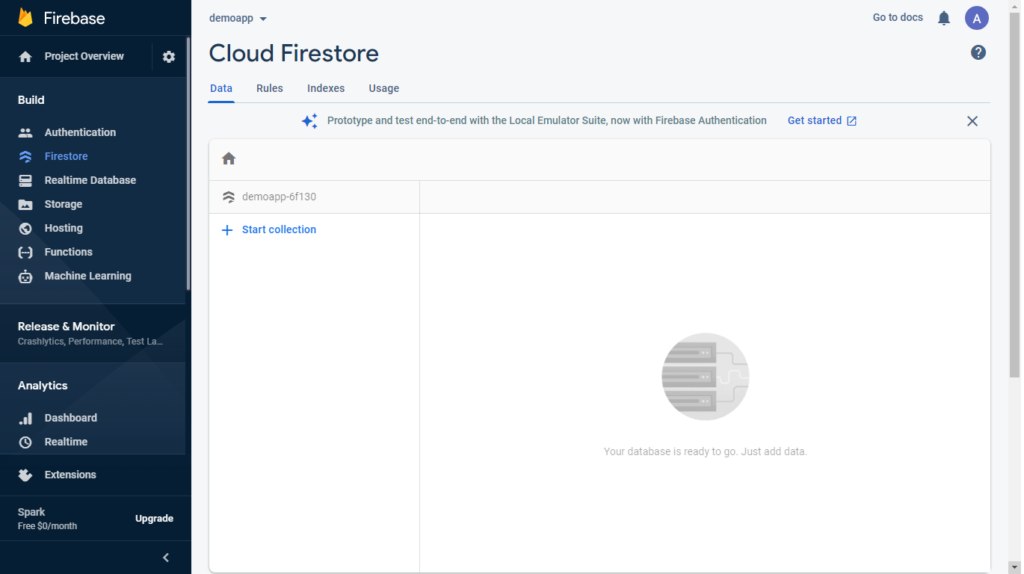
- On clicking Enable, the database gets created and displayed as shown below
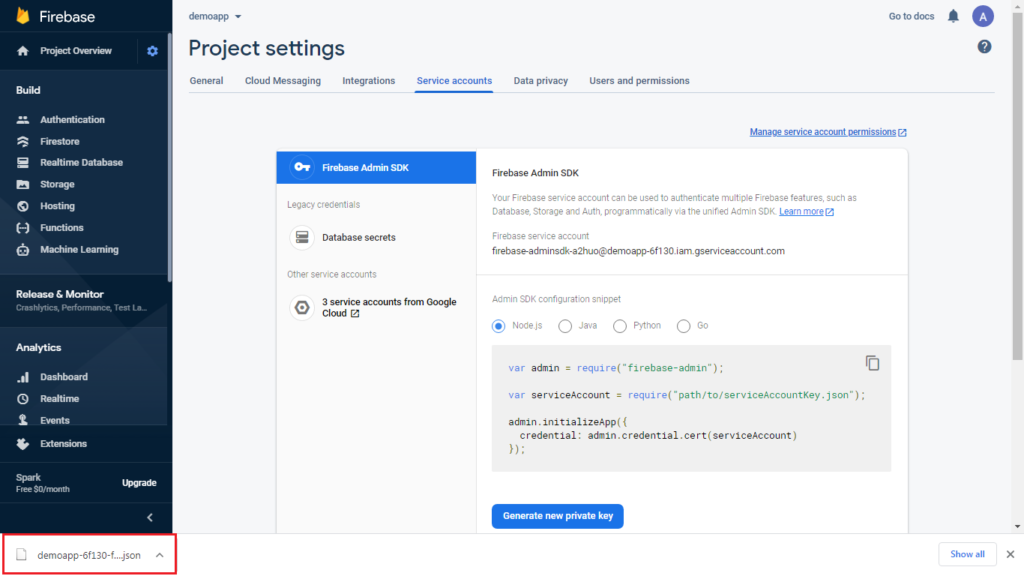
- Navigate to Project Overview –> Project Settings, choose Service accounts menu and click on Generate new private key

- On clicking the option, a new key is generated and downloaded as shown below
Create Firestore Source & Model
- Create a new Firebase connector by clicking on the New icon in Connector menu
- Provide the Name, Description and choose the type as Firebase and click on Next option
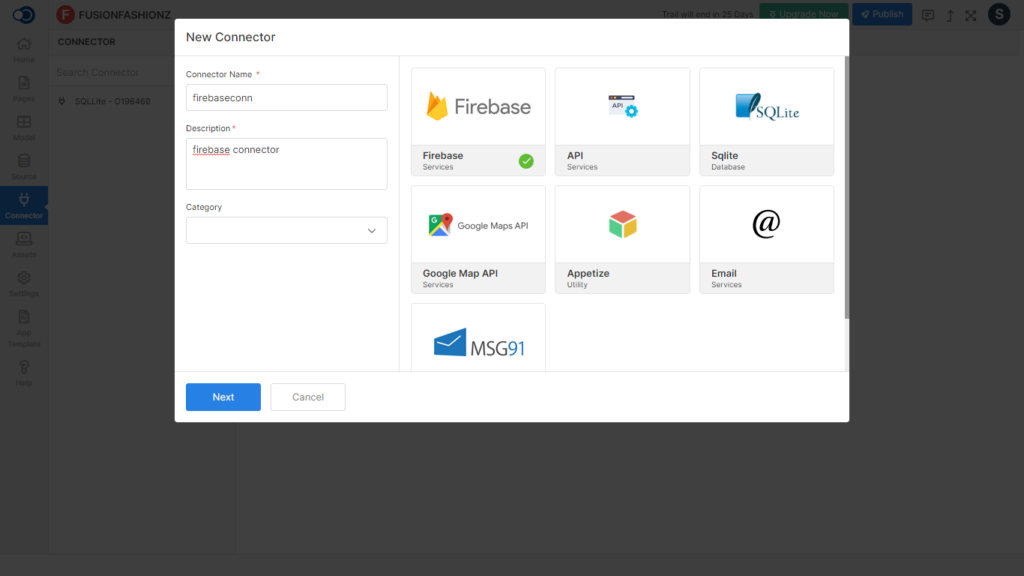
- On clicking, configuration menu is displayed
- Fill in the details from the Webconfiguration file that is downloaded from the firebase application
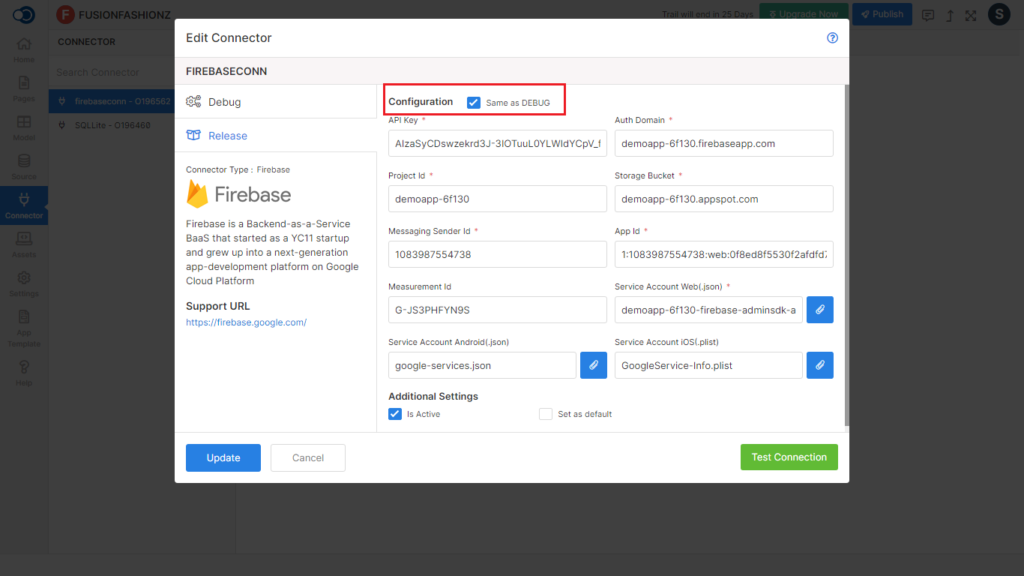
Configuration
- Fill in the configuration details from the Webconfiguration file.
- Choose demoapp-6f130-firebase-adminsdk-a2huo-d675d30992.json as Services Account Web(.json)
- Choose google-services.json as Service Account Android(.json)
- Choose GoogleService-Info.plist as Service Account iOS(.plist)
Note
These files are described for explanation purposes. The filename varies depending on the project created.

- Once the connector is created, create a new Firebase model in both Collection and Object types (Refer Model)
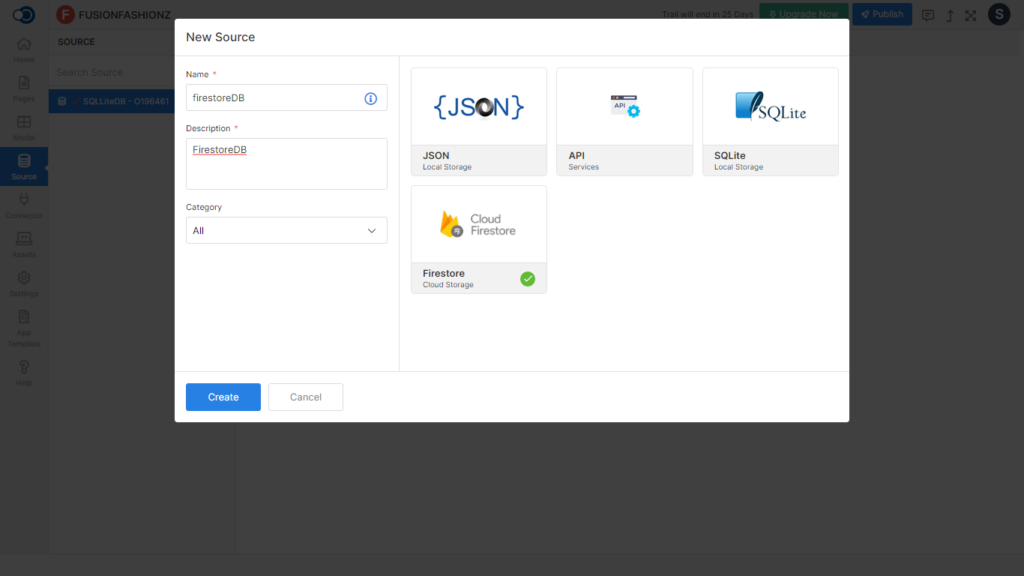
- Once the model is created, create a Firebase source (Refer Source)
Create Collection
You can create a collection in the following ways
- Through Firestore Cloud Storage
- Through Model
- Through Source using Import option
Creating Collection with Firestore Cloud Storage
To create a collection in the Firestore Cloud storage
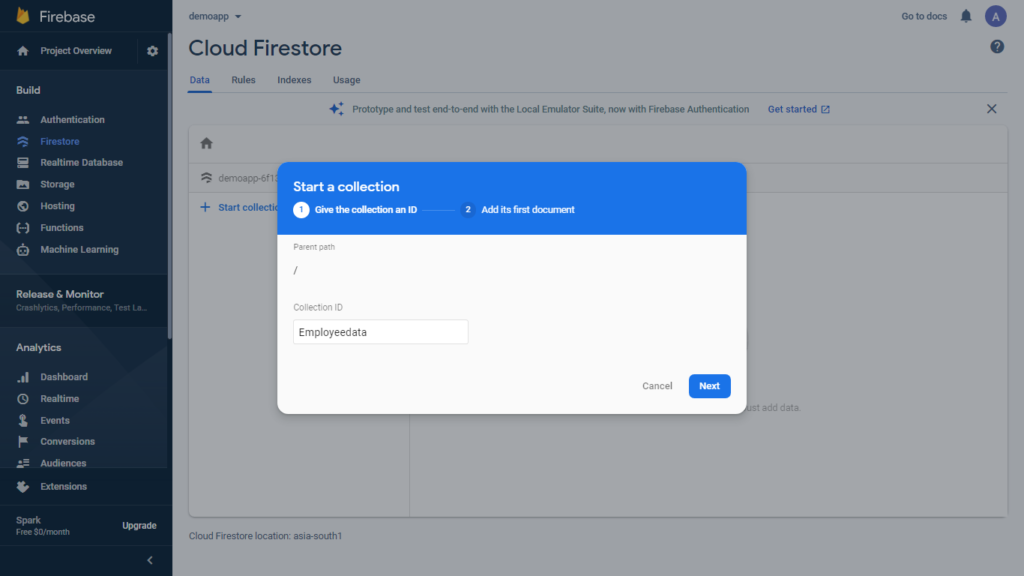
- Navigate to Build –> Firestore in Firebase console and click on Start Collection
- Provide the name for the collection in Collection ID and click on Next as shown below
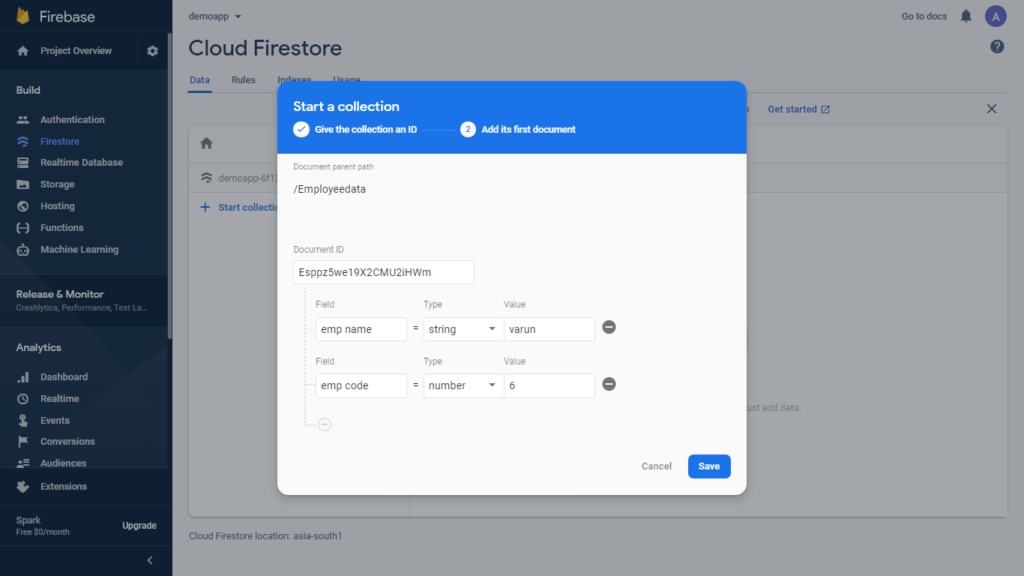
- Click on Auto-ID to add a field to the collection and provide a name for the field
- Choose the Type of the field and provide the value for the field
- Repeat the process for adding more fields
- Upon adding the fields, click on Save to save the data
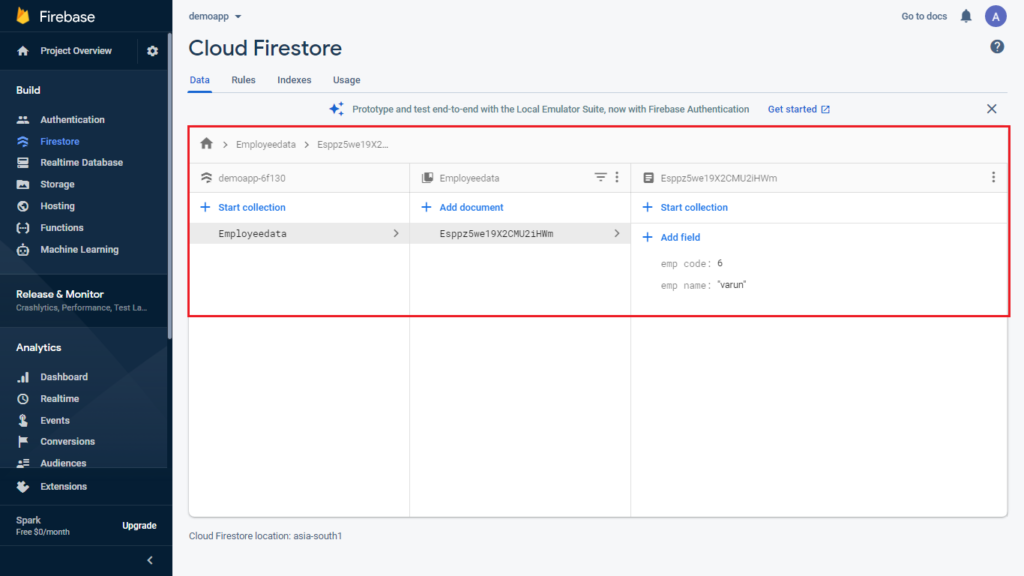
- The details are saved and displayed as shown below
Creating Collection with Import
To create a collection with Import function, Navigate to the source and open the corresponding firestore source. Click on the Download icon as highlighted in the below image
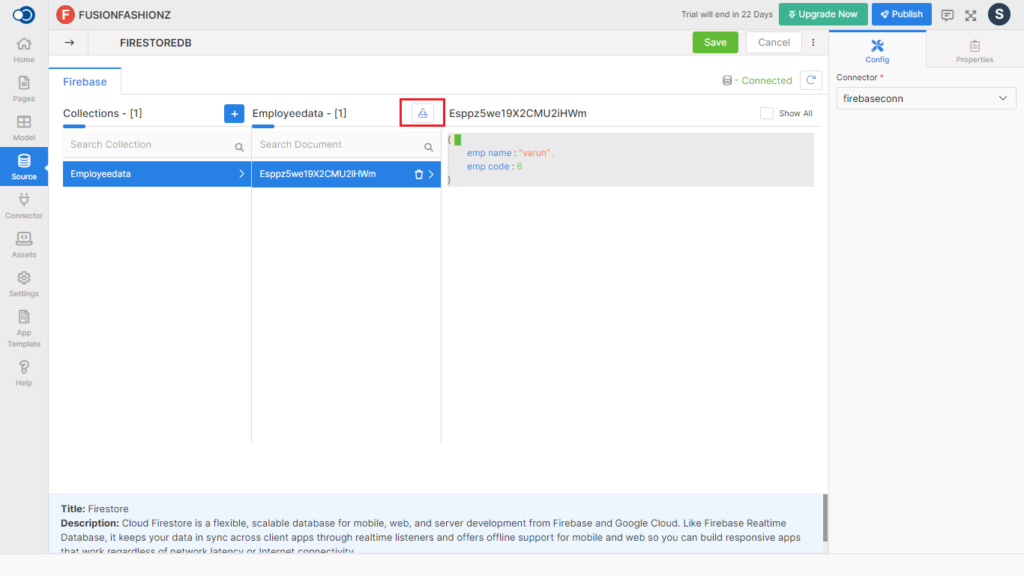
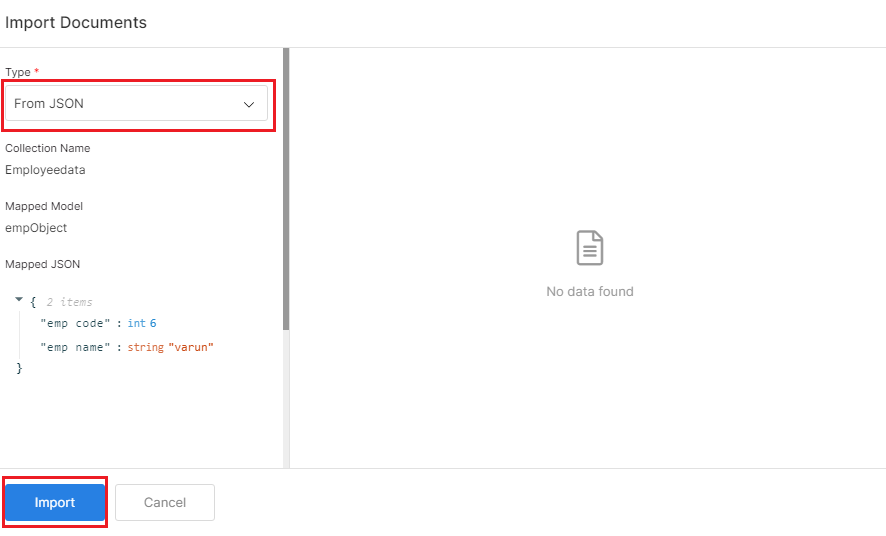
On clicking the icon, a new page is displayed as shown below. Choose type as From JSON and click on Import button to import the collection from a JSON file.
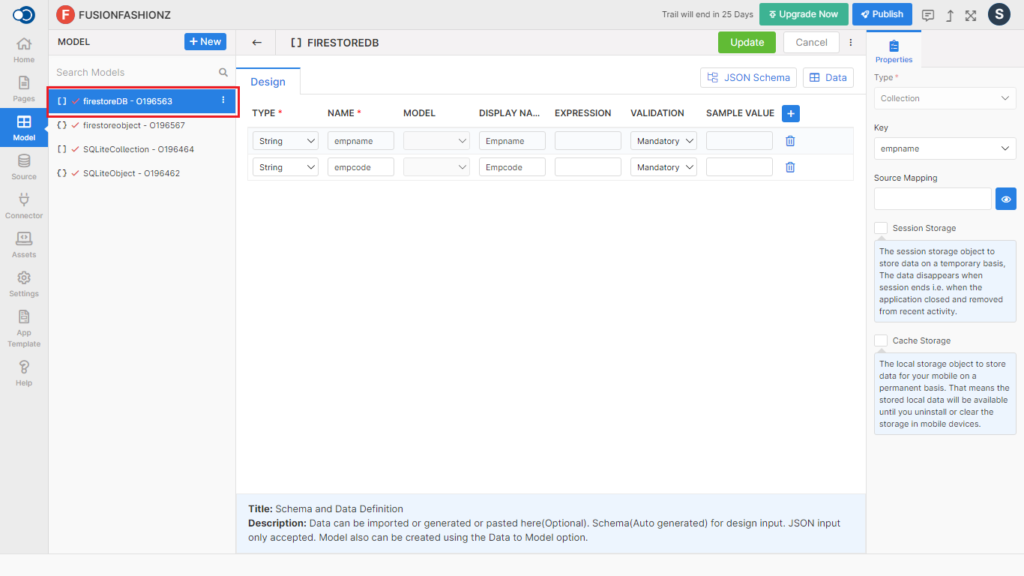
Creating Collection with Model
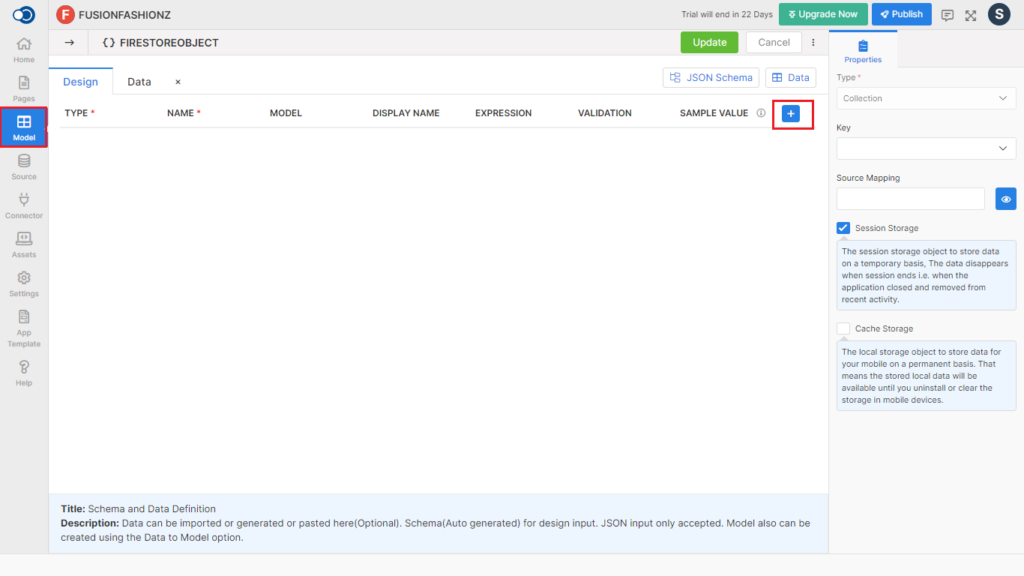
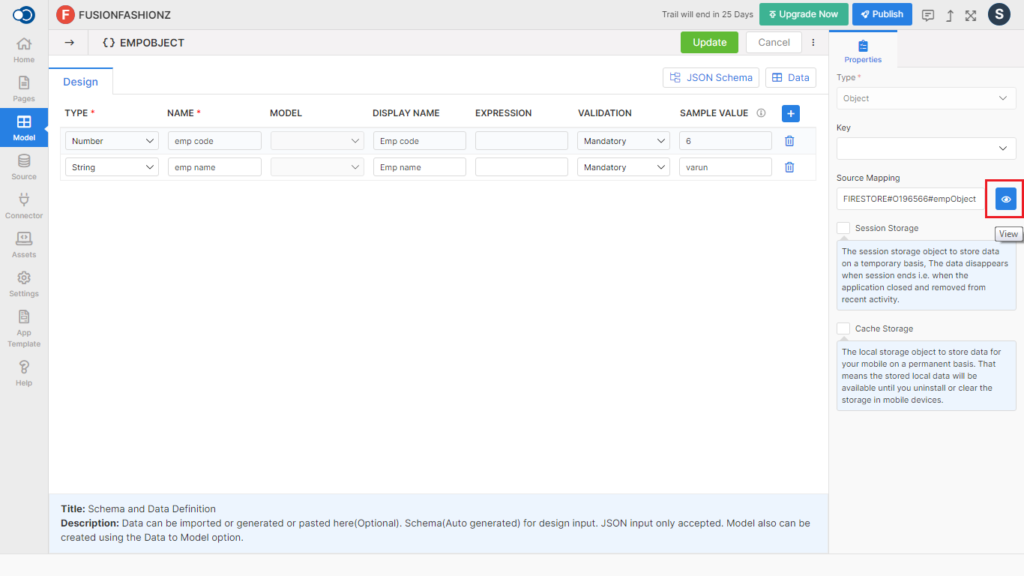
To create a collection with Model, Navigate to Model and open the Design tab. Click on the Add icon as highlighted in the below image
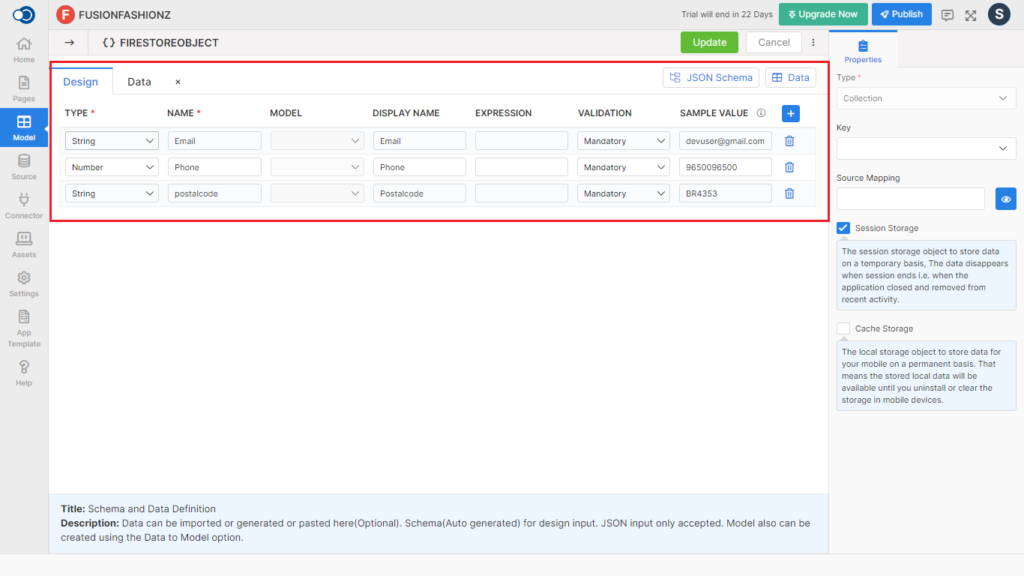
On clicking the icon, add up a collection. To add up the collection
- Choose the Type from String, Number, Boolean, Object, Collection and Any, based on the data you are adding
- Provide a name for the item e.g. Email
- Choose the Validation from Mandatory & Optional and provide a sample value for the item as shown below
After adding the items, click on Update option to add the items to the collection.
Mapping Source & Model
- To map the source and model, update the firebase connector
- Select the source to be mapped and click on Config
- Choose the firebase connector
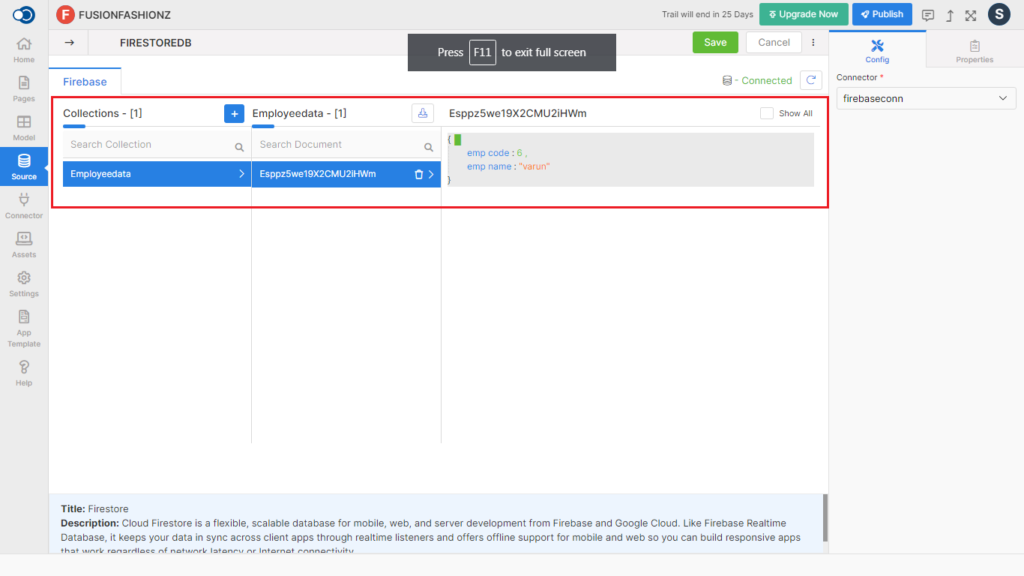
- On choosing the connector, the details of the collection updated in the Firebase cloud storage gets displayed as shown below
- Click on Properties menu and create a model by checking the checkbox against Create Model option and save the model
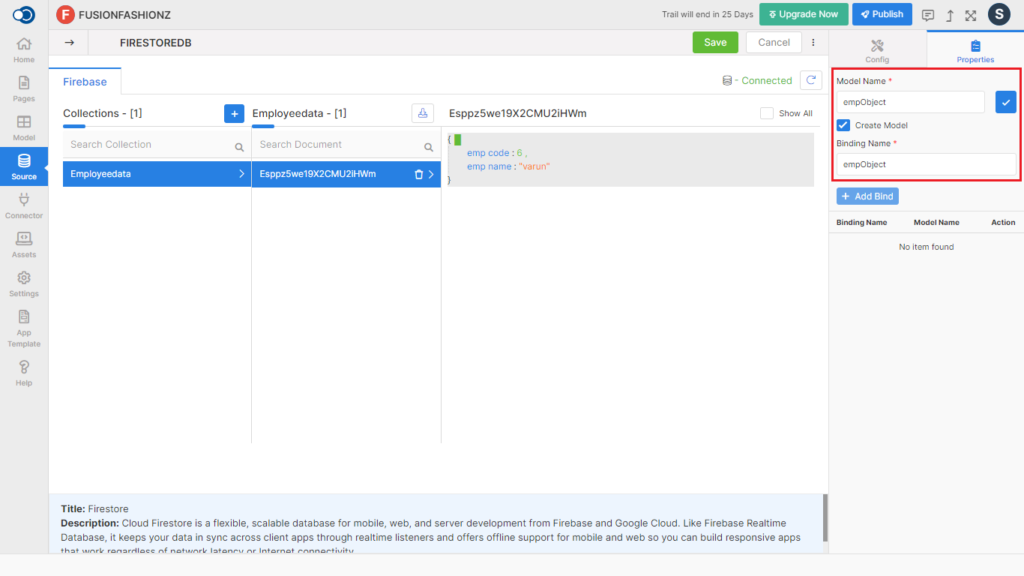
- Click on Save to save the changes
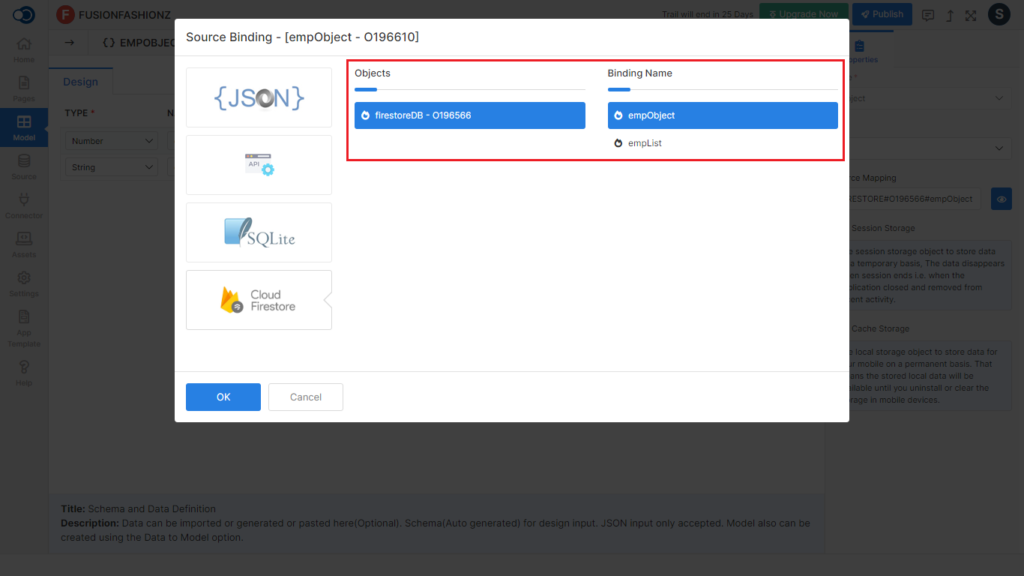
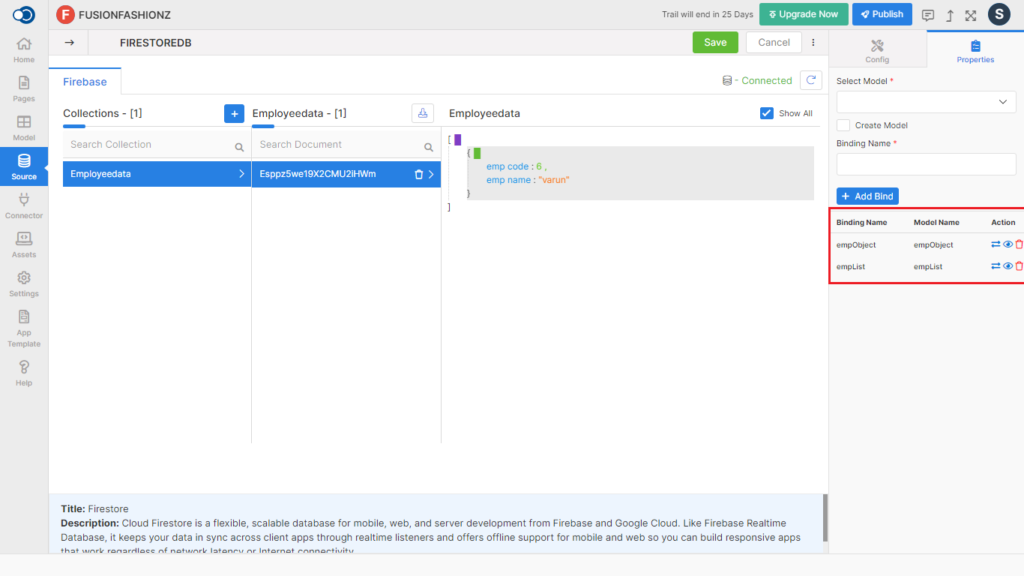
- Choose the model to be mapped with the source and click on Source Mapping option in the Properties menu
- Choose the Object and the corresponding Binding Name and click on OK to map the source and model.