
OREOPS application allows you to upload and publish the designed app in the App Store for global access.
Access to App Store Connect
- Search for App Store Connect in google
- Click on the App Store Connect – App Developer on the search list
- App Store – Developer portal will be navigated
- Click on Account or Sign In
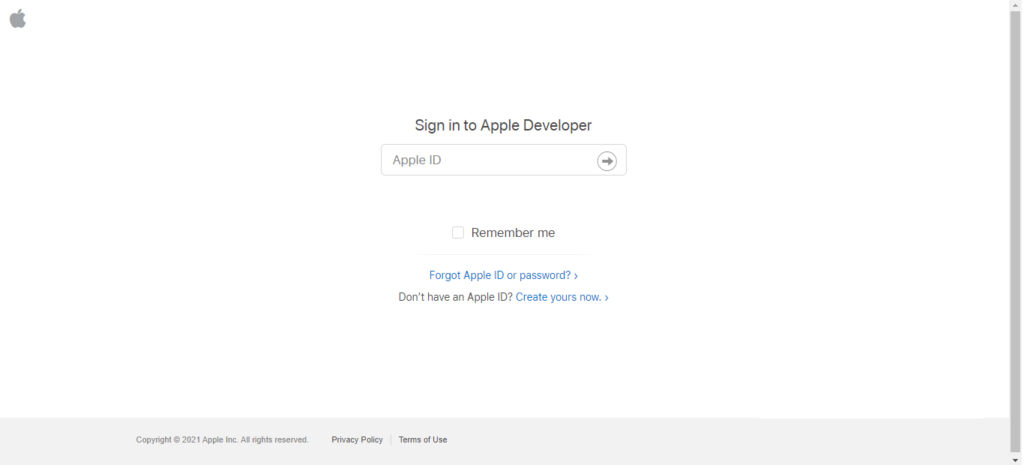
- Sign In to your App Store Connect App
- Enter Apple ID & Password and click on Enter
- If it is password protected – Enter Two Factor Authentication key which is received to your registered Phone Number/Email Address
- Trust this browser? – Trust
- Your App Store Connect account will be signed in successfully
- Click on App Store Connect
- Click on Go to App Store Connect button
- If you don’t have an account in App Store Connect, then create a new account for you by clicking on Don’t have an Apple ID? Create yours now.
- Create your Apple ID page will be navigated
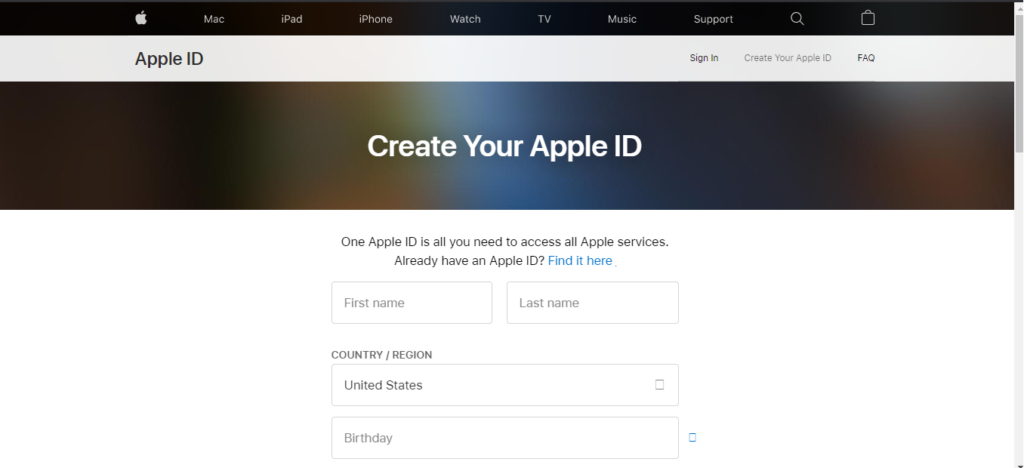
- Enter First Name, Last Name & select Country/Region from dropdown
- Enter your Date of Birth in mm/dd/yyyy format.
- Enter your email address which will be your new Apple ID.
- Enter Password and Confirm Password (Both should be same; Your password must have – 8 or more characters, Upper and lower letters & at least one number)
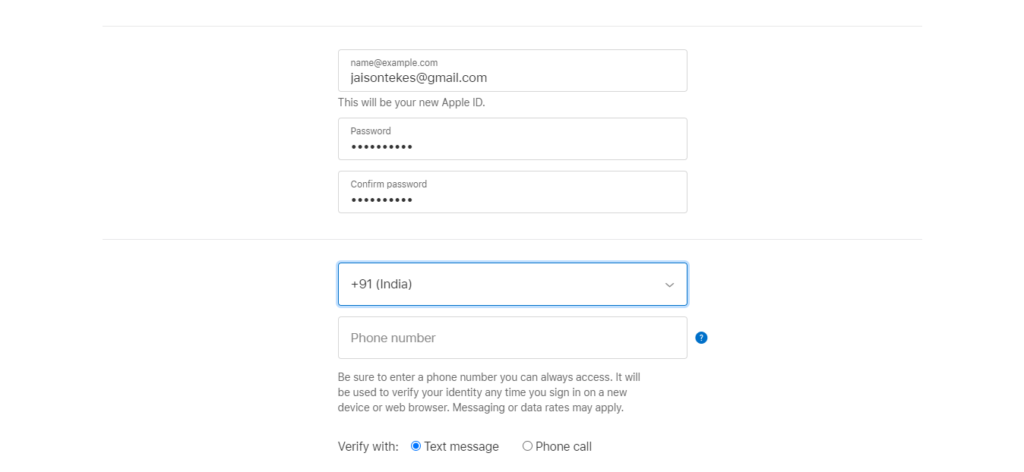
- Select your phone number country code from dropdown & enter your phone number without country code
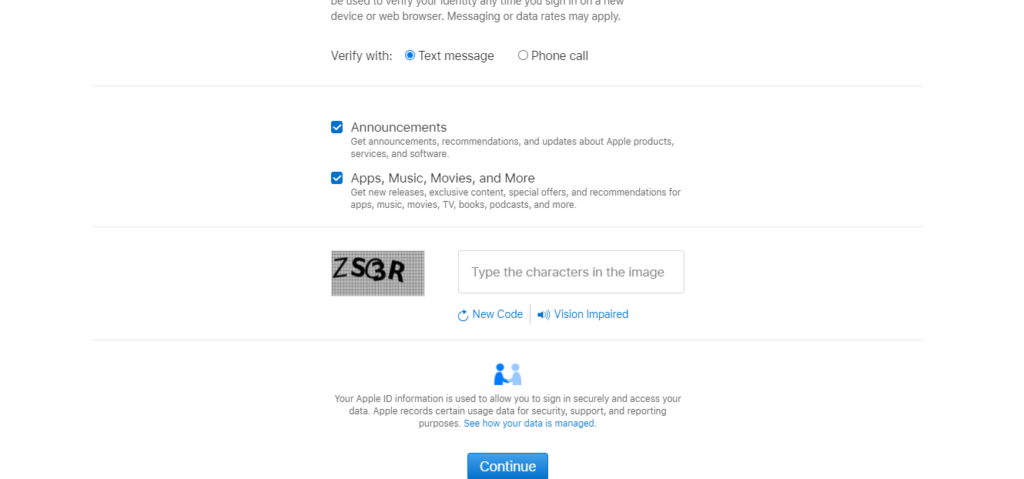
- Select Verify with: Text message or Phone call
- Select the following checkboxes:
- Announcements
- Apps, Music, TV, and More
- Apple News NewsLetter
- Enter the code which is displayed in the image & then click on the Continue button
- Verify your email address to create your new Apple ID – Enter the code received in email and click on the Continue button
- Verify your phone number to finish setting up your Apple ID – Enter the code received on the phone number and click on the Continue button
- After reading Apple Developer Agreement and legal agreement, check the relevant checkboxes
- Click on the Submit button
- Click on the Join the Apple Developer Program & click on the Enroll button
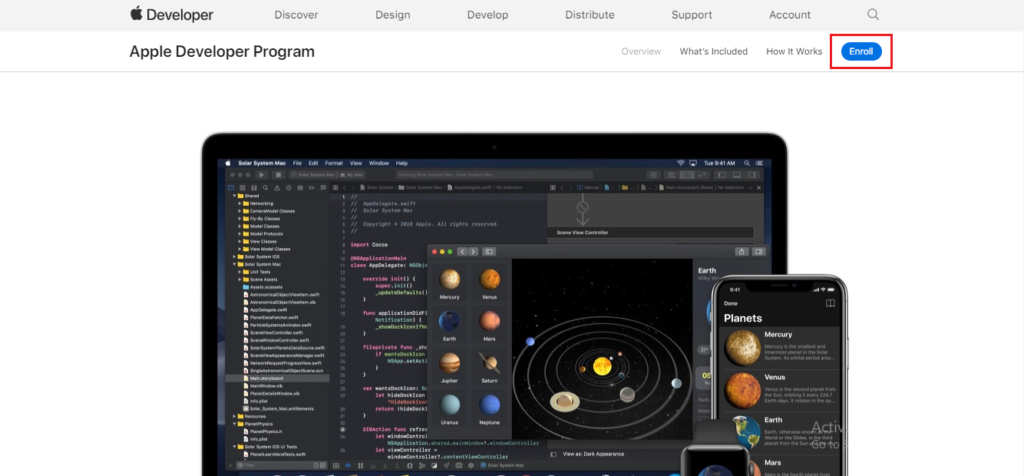
- Read What You Need To Enroll and click on the Start Your Enrollment button
- Confirm your personal information
- Enter First Name, Last Name, Phone Number, Address, City/Town, Zip/Postal Code, Country/Region & then click on the Continue button
- Select your entity type from the available list and click on the Continue button
- Review and Accept the Terms & Conditions & click on the Continue button
- Complete your purchase – Click on the Purchase button
- Complete your payment by providing the required information & click on the Continue button to place the order
How to create the App in App Store
- After successful account creation, you’ll be able to create an App in App Store.
- On successful Login, you’ll be redirected to App Store Connect
- Click on My Apps, Apps page will be redirected
- Click on the Add icon to create New App or New App Bundle
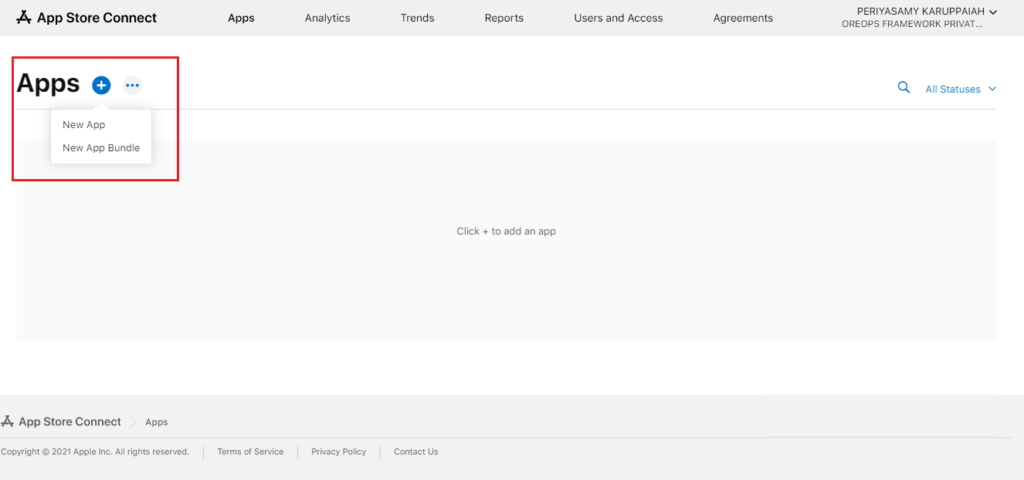
- Click on the New App to create New Apps, New App pop-up gets opened up
- Fill the details in the New App pop-up
- Select Platforms in New App pop-up – iOS/macOS/tvOS
- Enter Name – name of the app to be displayed on the App Store which can’t be longer than 30 characters
- Select Primary Language & Select Bundle ID (The bundle ID must match the one used in Xcode & can’t be changed after the first build upload)
- If you don’t have Bundle ID, Register with new by clicking on Register a new bundle ID in Certificates, Identifiers & Profiles page will be restricted
- Click on All Identifiers, Identifiers page will be redirected
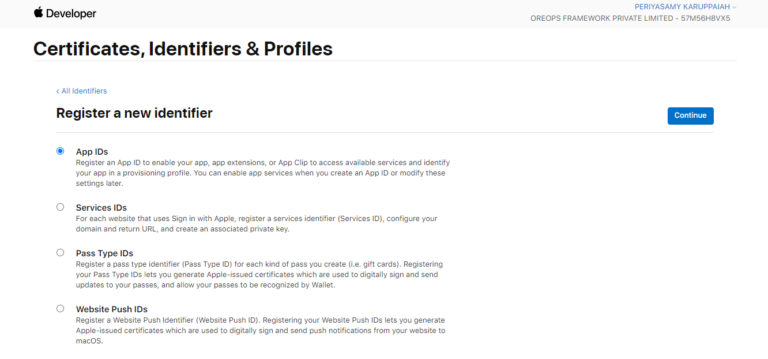
- Click on the Add icon to create a new identifier
- Select App IDs and click on the Continue button
- Select a Type and click on the Continue button
- Enter Description
- Select Bundle ID – Explicit/Wildcard and enter the Bundle ID
- Select Capabilities – one or more which are displayed
- Click on the Continue button, Confirm your App ID page will be redirected
- Click on the Register button, Identifiers page will be redirected and new App ID will be listed
- Enter the SKU – unique ID for the app that is not visible on App Store
- Select User Access – Limited Access/Full Access
- Click on the Create button to get redirected to Prepare for the Submission page
- Update Version Information & upload App preview and Screenshots accordingly
- Enter the required information – Promotional Text, Key Words, Description, Support URL & Marketing URL.
- App Clip
- Upload Header image
- Enter Subtitle
- Choose Action from the dropdown
- iMessage App – Upload relevant screenshots
- Apple Watch – Upload App Store icon & relevant screenshots
- Build
- Upload your builds using one of the available tools

- Click on Select a build before you submit your app button, Add Build pop-up will appear
- Select the build which you want to publish and click on the Done button
- On clicking, Export Compliance Information pop-up will appear
- General App Information
- Upload App Store Icon
- Enter Copyright
- Upload Routing App Coverage File
- Update App Version
- Edit Age Rating
- Game Center
- App Review Information
- SignIn Information – Enter User Name and Password
- Contact Information – Enter First Name/Last Name/Phone Number/Email
- Enter Notes & Upload Attachment
- Version Release – Select anyone of the available options & click on Save to save the data
- Click on the App Information under General section & verify pre-filled General Information
- Click on the View on App Store to view the uploaded App
- Remove App – If you want to delete the app permanently click on Remove App & click on Save to save the data.
- Click on Pricing and Availability and choose the relevant information & click on Save button
- Click on the App Privacy to provide the privacy information and click on Save button
- Click on the Publish button to provide the publish information
- Once the App Store publish Ratings and Reviews are displayed, navigate to Prepare for Submission page & click on the Submit for Review button
How to Remove the App from App Store
Remove the App from the App Store by following the procedure below.
- Click on the App Information under General section, Scroll to end of the page & click on the Remove App
- On clicking, a pop-up is displayed as Are you sure you want to remove ?
- Click on Remove to remove app from APP Store or
- Click on Cancel to cancel removing app from APP Store
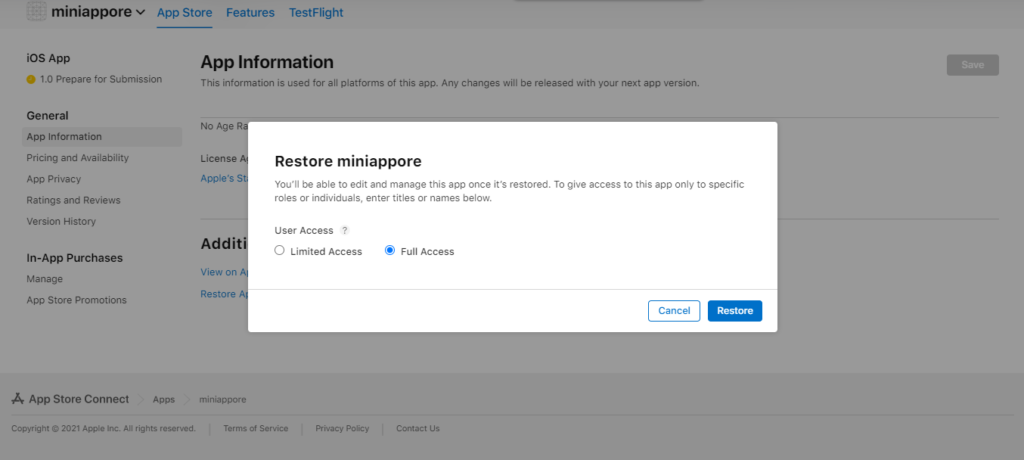
How to Restore the App Removed from App Store
Restore the App that is removed from App Store by clicking on the Restore App option. On clicking, Restore Miniappore will pop-up. Click on the Restore option in the pop-up to get the app restored.
Note
You can restore the app only when you are in the Remove App page after removing the app. You cannot restore the app if you have navigated to any other page app.